Medisplint Medisplint

How to Choose the Right Acutrak Screws in 2026?

Time:2026-09-25 Author:Liam
0%

Choosing the right Acutrak Screws in 2026 starts with the anatomy, not the product catalogue. A small wrist bone, a narrow fracture line, and limited surgical access can change which screw dimensions and design are appropriate. The fracture pattern matters. So do bone quality, the desired compression, and the surgeon’s fixation plan. There is no universal “best” screw.

Dr. Jesse B. Jupiter is a recognized hand and upper-extremity surgeon whose clinical work offers relevant perspective on fracture care. I can’t verify a direct quotation from him on Acutrak Screws from the material provided, so I won’t invent one. A careful editorial summary of the principle is: “Match fixation to the fracture and the patient’s anatomy.” That is a paraphrase, not his verbatim statement.

This guide will compare key selection factors, including screw size, thread configuration, surgical approach, and the manufacturer’s current instructions for use. It will also explain why imaging and case-specific judgment matter more than choosing a familiar model by habit. Small details count. A screw that appears suitable on a product chart may not suit the actual fracture or available bone. Surgeons should confirm model indications and technical specifications using current manufacturer documentation and their clinical judgment. The goal is informed selection, not a one-size-fits-all recommendation.
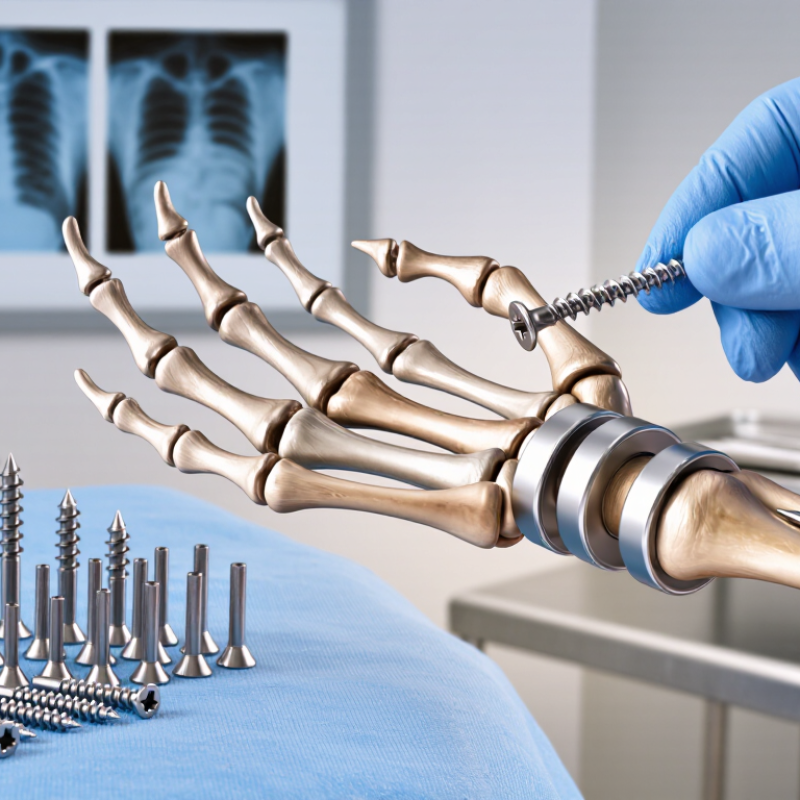
How to Choose the Right Acutrak Screws in 2026?

Understanding Acutrak Screw Designs and Available Options

Understanding Acutrak screw designs starts with the bone and fracture, not the package. Headless compression screws sit beneath the bone surface, which can matter near joints or beneath tendons. Their variable-pitch threads draw fracture fragments together as the screw advances. Cannulated options guide placement over a wire; solid designs may offer another insertion profile. Small differences matter. Diameter, length, thread depth, and insertion angle all affect fit. A screw that is too long may protrude; one that is too short may not capture both fragments securely.

Clinical evidence offers context, not a universal sizing rule. A 2005 Journal of Bone and Joint Surgery meta-analysis reviewed 11 randomized trials involving 1,023 patients with acute scaphoid fractures. Operative fixation shortened average time to union by about five weeks and return to work by seven weeks. Those results do not mean every fracture needs a screw, or that one design suits every bone. Not just diameter. Surgeons also weigh fracture location, bone size, fragment stability, and imaging findings. The sizing chart is useful, but it cannot replace careful planning. Even experienced teams may need to reconsider a choice when the anatomy looks different from the scan.

Identifying the Bone, Fracture Pattern, and Fixation Needs

Choosing a headless compression screw starts with the bone, not the implant catalogue. A small bone in the wrist needs different dimensions and trajectory from a larger bone in the foot. Review imaging for bone width, fracture location, fragment size, and bone quality. CT may help define complex fracture lines when plain radiographs leave uncertainty. Small details matter.

The fracture pattern guides whether compression is suitable. A simple, stable fracture line may allow controlled compression, while comminution or a fragile fragment can make compression risky. The screw must cross the fracture with enough purchase on both sides, without entering a joint or damaging nearby structures. Measure the planned path carefully; a few millimeters can change the result. This is where the plan may need revising.

Fixation needs also depend on loading, bone stock, and any associated injuries. Consider screw diameter, length, number, and insertion angle alongside the reduction and rehabilitation plan. More hardware is not automatically better. Surgeons should match the device to the anatomy, use appropriate imaging and technique, and follow current instructions for use. No single screw suits every case. A sound choice balances stability with the least disruption to surrounding tissue.

Matching Screw Length, Diameter, and Thread Design

Choosing the right headless compression screw in 2026 means matching its length, diameter, and thread design to the bone and fracture—not selecting from a standard chart alone. For scaphoid fixation, the EFORT Open Reviews clinical review reports that about 65–70% of fractures occur at the waist. That location matters: a central trajectory may allow useful purchase on both sides, while a small proximal fragment can limit safe thread engagement.

Measure along the planned guidewire, using imaging views that show the bone’s true axis. A screw that is too long may protrude; one that is too short can lose purchase. Check the diameter against the narrowest bone section, leaving room for cortical margins. Small details matter. Rotated images can make a measurement look cleaner than it is. Thread design must also fit the fracture: confirm that the screw’s thread zones cross the fracture as intended, so compression occurs without pulling the fragments out of alignment. A differential-pitch design is not a substitute for accurate trajectory. Recheck the plan against the patient’s imaging and the specific screw system’s instructions; the ideal measurement on paper may need adjustment in the operating room.

How to Choose the Right Acutrak Screws in 2026? — Matching Screw Length, Diameter, and Thread Design

Selection factor What to assess How to match the screw Key check before insertion
Screw length Measure the intended bone path with the system’s depth gauge after reduction and guide-wire placement. Choose an available length that spans the fracture or osteotomy and allows the tip to remain recessed where required. The appropriate length depends on the implant system and the planned trajectory. Confirm the guide wire and measured depth in more than one imaging view. Avoid joint penetration and unwanted prominence at either end.
Screw diameter Assess the narrowest bone corridor along the planned trajectory, bone size, fracture pattern, and available bone stock. Select the smallest diameter that provides suitable fixation for the bone and construct while fitting within the available corridor. Do not choose by bone name alone; anatomy and trajectory vary. Check that the screw will not breach the cortex or compromise nearby articular surfaces, tendons, or other structures.
Thread pitch and differential Consider whether compression across the fracture or osteotomy is intended and whether the fragments can be brought together safely. A differential-pitch compression design advances the threaded regions at different rates as the screw is inserted, generating interfragmentary compression when used as directed. Obtain and maintain reduction before insertion. Compression depends on correct placement and technique; the screw does not replace reduction.
Thread engagement Identify the near and far fragments, fracture location, and the amount of bone available for purchase on each side. Use a thread configuration and length that engage the intended fragments as specified in the system’s surgical technique. Avoid placing the transition or unthreaded region across a location where it prevents the intended fixation. Verify the final position and fragment engagement with imaging. Follow the implant-specific instructions for use.
Small or narrow bone Evaluate the available bone width and the proximity of joints and surrounding soft tissues. Consider a smaller-diameter option only if it is available for the selected system and provides appropriate fixation. Plan the trajectory to preserve bone and avoid critical structures. Use imaging and the system’s sizing instruments to confirm that the selected screw fits the actual bone corridor.
Short bone path Measure the usable path rather than estimating from external anatomy. Choose a length that reaches the intended fixation zone without leaving the tip proud or extending into a joint. Available lengths differ by screw family. Recheck depth after final guide-wire placement; a change in trajectory can change the required length.
Longer or oblique path Account for the full trajectory through the bone, including the angle of insertion and the location of the fracture. Base length on the measured path and planned thread engagement, not on a straight-line estimate of the bone’s external dimensions. Confirm that the longer path remains contained within bone and does not approach an unintended articular surface.
Final system selection Compare the required length, diameter, thread configuration, and instrumentation with the current implant-system specifications. Use the implant’s current sizing chart and surgical technique to select an available combination. Do not assume that dimensions or options are interchangeable between screw systems. Verify the exact implant and instruments before use, and follow the current manufacturer instructions and clinical judgment.

Note: This table provides general selection considerations, not product-specific dimensions or a substitute for surgical training. Screw sizes, thread designs, and measurement methods vary by system; confirm all selections against the current instructions for use and surgical technique.

Considering Patient Factors and Surgical Approach

Patient factors shape screw choice as much as the fracture itself. Bone quality, age, activity level, and healing risks can affect fixation goals. A small bone may limit screw diameter or available trajectory. Poor bone quality may call for a different fixation plan. Small differences matter. Review imaging for fracture pattern, fragment size, and nearby joint surfaces. A clear X-ray can still hide limited purchase or an awkward path. Not always obvious. Medical history and the patient’s ability to follow postoperative restrictions also deserve attention.

The surgical approach should allow a safe path and stable compression without unnecessary soft-tissue disruption. Consider the entry point, screw length, and angle against the patient’s anatomy. Intraoperative imaging can help confirm position and avoid joint penetration. The chosen screw should match the actual fracture, not just a familiar technique. A plan may need adjustment when exposure or bone quality differs from expectations. That is worth acknowledging. No single screw design suits every case, and final decisions belong to the treating surgical team, guided by imaging, anatomy, and current clinical evidence.

Verifying the Selection Against Imaging and Current Guidance

Before choosing a headless compression screw, match the plan to the actual fracture, not just its name. Review appropriate radiographs in more than one view, checking fragment size, fracture orientation, displacement, and nearby joint surfaces. For complex anatomy or unclear fracture lines, CT may clarify what plain films cannot. Small details matter. A narrow fragment can limit safe screw diameter, while an oblique fracture may change the best trajectory. Consider bone quality, available purchase, and whether the planned length could cross a joint or damage nearby structures. Imaging supports judgment; it does not replace it.

Confirm the proposed screw dimensions and technique against current device instructions, local protocols, and relevant clinical guidance. Check that the selected system is intended for the fracture and anatomical site, and that the planned trajectory can be reproduced with available imaging during surgery. Do not assume a familiar size will suit every patient. Measurements on images can be imperfect, especially when positioning or magnification is inconsistent. That deserves a second look. Reassess if the images, fracture pattern, or intraoperative views do not match the plan. A qualified orthopedic surgeon should make the final decision, weighing imaging alongside examination findings, patient factors, and the risks of alternative fixation methods.

FAQS

What should guide the choice of a headless compression screw?

Start with the bone and fracture, not a standard catalogue chart. A small wrist bone needs different dimensions than a larger foot bone.

Which imaging details should be reviewed before fixation?

Check bone width, fracture location, fragment size, and bone quality. CT can clarify complex fracture lines when plain radiographs remain uncertain.

When is compression suitable for a fracture?

A simple, stable fracture may accept controlled compression. Comminution or a fragile fragment can make compression risky. The plan may need revision.

How should the screw path be planned?

The screw should cross the fracture and gain purchase on both sides. Avoid joint penetration and nearby structures. A few millimeters matter.

How are screw length and diameter selected?

Measure along the planned guidewire and the bone’s true axis. A long screw may protrude. A short screw may lose purchase.

Why does the fracture location affect screw design?

In scaphoid waist fractures, a central path may provide useful purchase. A small proximal fragment can limit safe thread engagement.

How should thread zones relate to the fracture?

Confirm that the thread zones cross the fracture as intended. This supports compression without pulling fragments out of alignment. Differential pitch cannot correct a poor trajectory.

Does adding more hardware always improve fixation?

No. More hardware is not automatically better. Match diameter, length, number, and angle to loading and bone stock. Less tissue disruption may be preferable.

What should happen if the operating-room measurement differs from the plan?

Recheck imaging, trajectory, and the system’s current instructions. The paper measurement may be wrong. Pause and reassess.

Conclusion

Choosing the right Acutrak Screws begins with understanding the available designs and how their features may support different fixation needs. The surgeon should assess the bone involved, fracture pattern, and required stability, then select a screw length, diameter, and thread configuration suited to the anatomy and intended purchase. These choices should account for the patient’s bone quality, overall clinical circumstances, and the planned surgical approach.

Before finalizing the selection, review relevant imaging to confirm dimensions, trajectory, and compatibility with the treatment plan. Consider current clinical guidance and use professional judgment to weigh the benefits and limitations of each option. Careful evaluation helps align screw design and placement with the specific fracture and patient, while recognizing that final decisions depend on individual assessment by a qualified clinician.

Liam

Liam

Liam is a dedicated marketing professional with a profound expertise in the industry, where he excels at highlighting the unique advantages of our core products. With a keen understanding of market trends and consumer needs, Liam frequently updates our company’s professional blog, providing......